Introduction:
In the digital age, the need for portable and flexible storage solutions has become increasingly important. While physical USB drives have been a go-to option for a long time, virtual USB drives offer a convenient alternative that eliminates the need for physical hardware. In this guide, we’ll walk you through the step-by-step process of creating a virtual USB drive in a Windows environment, providing you with a versatile and easily accessible storage solution. A virtual USB drive can be created in two ways, we’ll explain each one in simple steps here.
How To Create A Virtual USB Drive In Windows Using Disk Management
We all know how handy USB drives are for carrying our important files around. But what if you could create a virtual version of a USB drive right on your computer? Well, good news! You can do just that using a built-in tool in Windows called Disk Management. In this easy-to-follow guide, we’ll show you how to create a virtual USB drive step by step, using windows Disk Managemnt Tool.
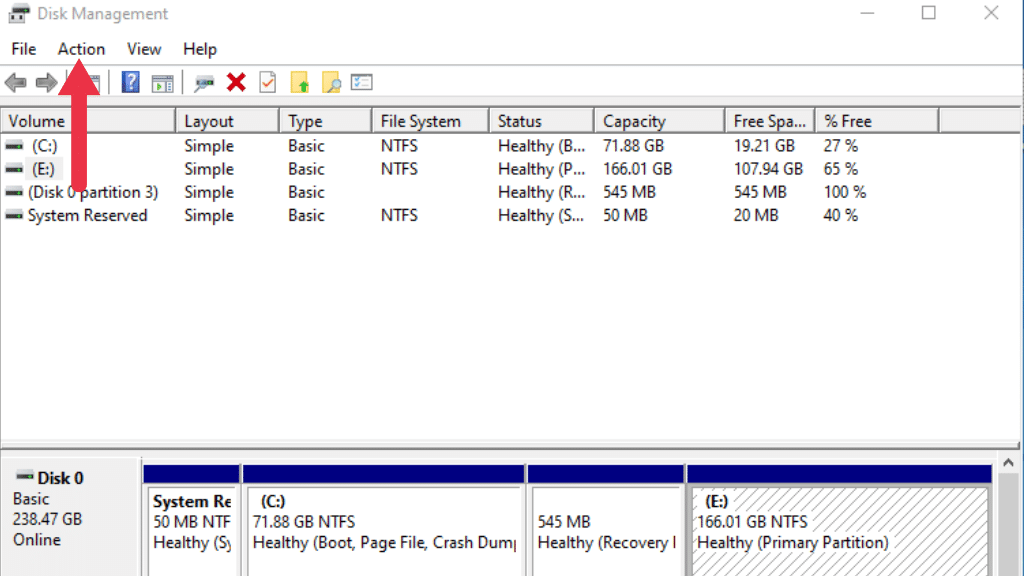
Step 1: Open Disk Management To start
you’ll need to open Disk Management. You can do this by right-clicking on the “Start” button and selecting “Disk Management” from the menu that appears.
Step 2: Shrink an Existing Drive Before we create our virtual USB drive
we need some space for it. So, let’s shrink an existing drive (usually your C: drive) to free up some room:
- Right-click on the drive you want to shrink (usually C:).
- Select “Shrink Volume” from the menu.
- Windows will calculate how much space you can shrink. You can enter the amount you want to shrink the drive by (in megabytes), or just use the maximum size. Then click “Shrink.”
Step 3: Create a New Simple Volume Now that we have some free space
let’s create a new partition where our virtual USB drive will live:
- Right-click on the unallocated space that you just created.
- Choose “New Simple Volume” from the menu. This will open the New Simple Volume Wizard.
Step 4: Set Volume Size The wizard will guide you through the process.
You can choose how much space to allocate for your virtual USB drive. You can use the maximum size or set a custom size if you prefer. Click “Next” when you’re done.
Step 5:
Assign Drive Letter or Path You’ll be asked to assign a drive letter or path to your new volume. Choose an available drive letter from the drop-down menu. This is the letter you’ll use to access your virtual USB drive. Click “Next.”
Step 6:
Format the Volume Choose the file system you want to use for your virtual USB drive. For compatibility and flexibility, we recommend selecting “NTFS.” You can also give your drive a name (like “VirtualUSB”). Click “Next.”
Step 7:
Completing the Wizard Review your choices and click “Finish” to create your virtual USB drive. Windows will format the drive, which might take a moment.
Step 8:
Access Your Virtual USB Drive Congratulations! You’ve created a virtual USB drive. To access it, open “File Explorer” and you’ll see your new drive with the letter you assigned (like E: or F:). You can now use it just like a regular USB drive – copy, paste, and organize your files.
See this Video Tutorial for Create A Virtual USB Drive in windows.
Create a virtual USB drive using ImDisk Toolkit.
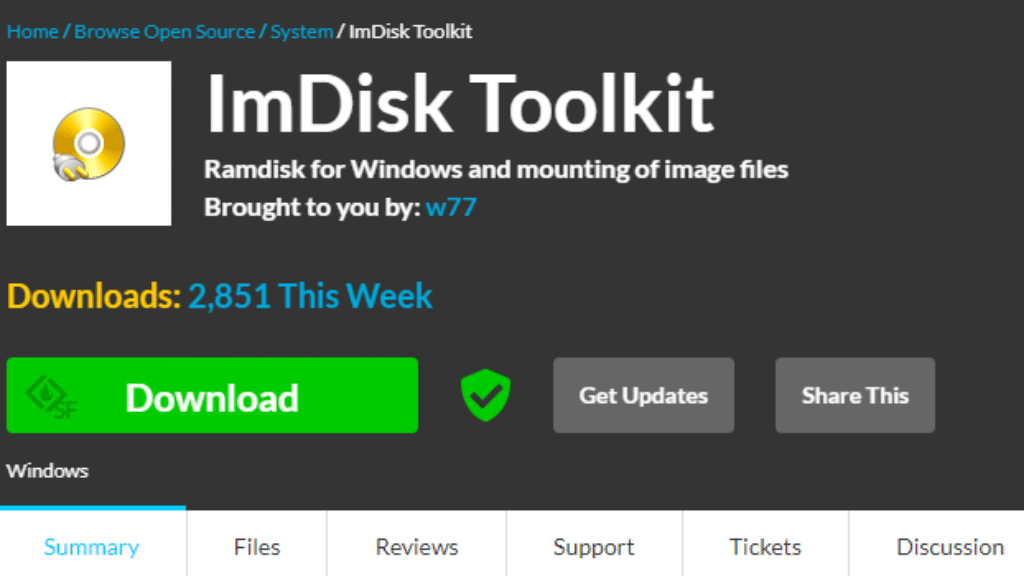
Step 1: Choosing the Right Software To start,
you’ll need to select a reliable software tool that allows you to create and manage virtual USB drives. One popular option is “ImDisk Toolkit,” a free and open-source software that offers a wide range of features, including virtual disk creation. Download and install the software from a trusted source.
Step 2: Installing ImDisk Toolkit
Once you’ve downloaded the software, run the installer and follow the on-screen instructions. The installation process is straightforward and doesn’t require any advanced technical skills.
Step 3: Creating a Virtual Disk After successfully installing ImDisk Toolkit,
launch the application. Follow these steps to create your virtual USB drive:
- Open ImDisk Toolkit and click on the “Mount new…” button.
- In the “Device” drop-down menu, select an available drive letter for your virtual USB drive.
- Choose the size of your virtual disk. This size will determine the maximum storage capacity of your virtual USB drive.
- Specify the type of virtual disk you want to create. For a USB drive emulation, select “Removable media.”
- Click the “Create now!” button to initiate the creation of your virtual USB drive.
Step 4: Formatting the Virtual USB Drive Once your virtual USB drive has been created,
you’ll need to format it just like you would with a physical USB drive:
- Open File Explorer and locate your newly created virtual drive (it will have the drive letter you assigned).
- Right-click on the drive and select “Format.”
- Choose your desired file system (typically, NTFS is recommended for Windows) and provide a volume label.
- Click “Start” to begin the formatting process. Be aware that this will erase any data on the virtual drive, so ensure you have a backup if necessary.
Step 5: Mounting and Accessing the Virtual USB Drive With the virtual USB drive formatted,
you’re now ready to use it:
- Open ImDisk Toolkit again and click on the “Mount new…” button.
- Select the drive letter you assigned to your virtual USB drive.
- Choose the option to mount a virtual disk image file.
- Browse and select the virtual disk image file you created earlier.
- Click “OK” to mount the virtual USB drive.
Conclusion:
Congratulations! You’ve successfully created a virtual USB drive in your Windows environment using Windows Disk Management and ImDisk Toolkit. You can easily access and manage your data with these versatile storage solutions without having to buy any physical hardware. Whether you need a secure spot for sensitive documents or want a virtual workspace, these methods offers a user-friendly solution for all your digital storage needs.
Comment below if you have any questions or need assistance with these methods
Related Articles:
How to Change CPU Fan Speed without BIOS: Complete Guide
How to Resolve Access denied for user root localhost
How to Clean Up Windows Installer Folder for Improved Performance.